1. Write the story
- Open the Story tab and write a premise. The example below started from: “A lighthouse keeper finds a message in a bottle, addressed to her and dated fifty years from now.”
- Choose how many shots (2–8) and, if you like, a style (“moody 35mm film, teal and amber”).
- Press Write story. A checklist shows the title, cast, places and shots as they're written.
You get the Story script: a title and logline, a look, the cast, the locations and the shots, each with framing, action and direction for video (lens, camera move, timing, acting, light, sound). Everything is editable.
- Rewrite on a shot takes a note. Choose What happens (keeps the framing, cast and place), Whole shot, or Direction only, and optionally adjust the shots after it. Undo puts it back.
- Rewrite cast and Rewrite locations also take a note (“make the grandfather older”, “give each spot its own location”).
- Every story is saved as you go. The bar at the top holds its name, My stories (open another, or a copy) and New, which clears the script for a fresh story, keeping your premise, with an Undo. The old story stays in My stories.
2. Cast: keep faces the same
Each frame is drawn separately, so without help a character changes face from shot to shot. Give each one a picture that every frame copies: Make portrait renders them from their description, or Use a photo casts a real person or pet. Under Played by you can switch between the description and any image.


3. Locations: keep places the same
A location is one spot the camera films, with its own background. An orchard's old tree and its stone wall are two locations; two shots by the same wall share one. Every shot set in a location repeats its description, and it can have a picture frames copy:
- Make set plate renders the place on its own, with the storyboard's model and shape.
- Use a photo, or drag any image from your gallery onto the location.
- Set Outdoors or Indoors so the plate is framed the right way.
- Every image a location has had stays under Versions; click one to switch back.
- Set plate prompt shows exactly what's sent. Edit it to send your own; Use written goes back.
- Rewrite on a location rewrites its description from your note.
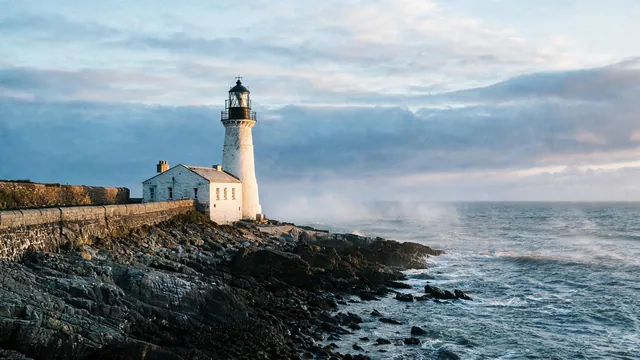
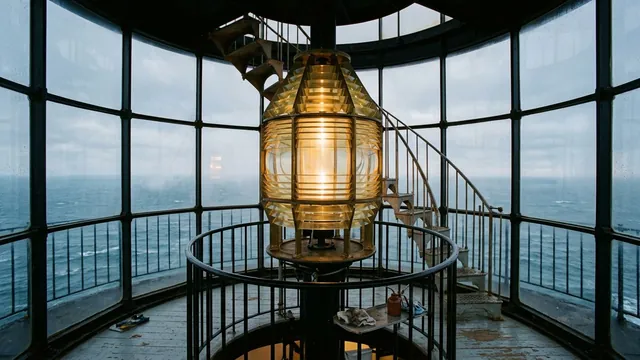
4. Storyboard: a frame per shot
- Press Render storyboard, pick a frame model (FLUX.2 Klein is fast and cheap for blocking out) and render the missing frames.
- Keep the ones you like. Redo makes a new take; the ‹ › arrows switch between takes.
- Refine re-renders a keeper with a stronger model (Nano Banana 2 by default), keeping its composition.
- Tick shot numbers to act on just those shots; with none ticked, the buttons act on every shot that needs it.
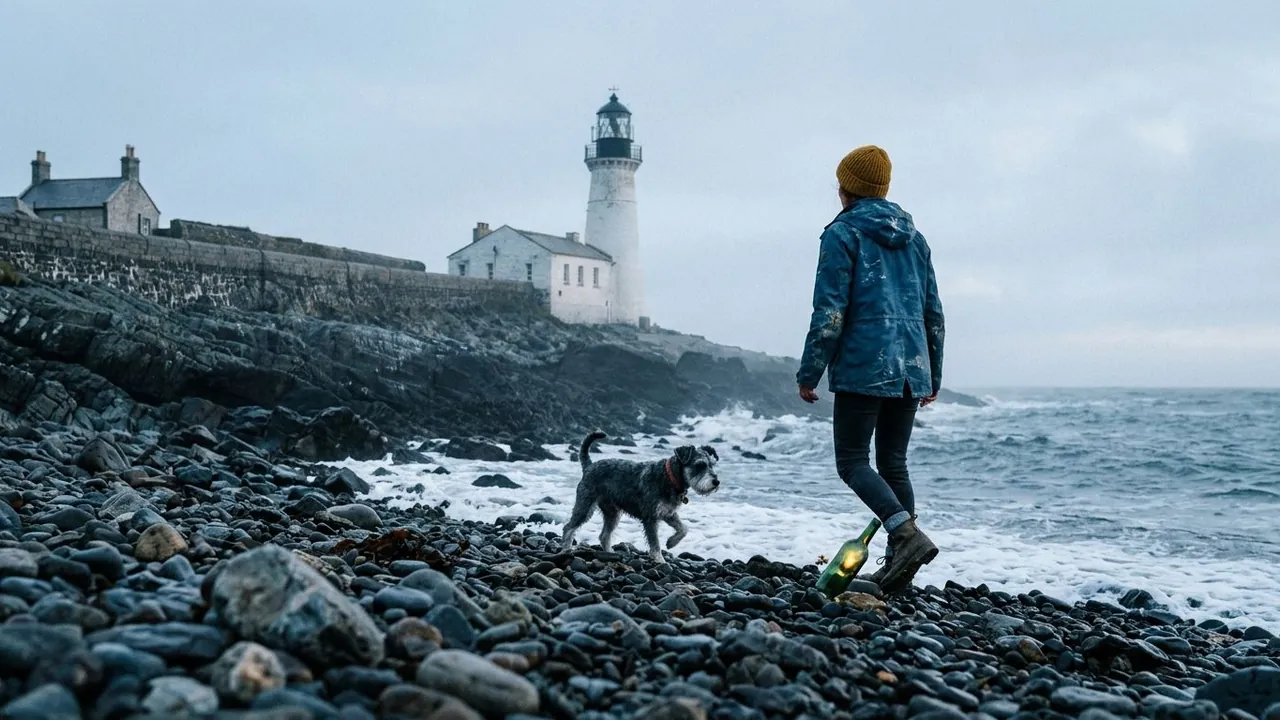
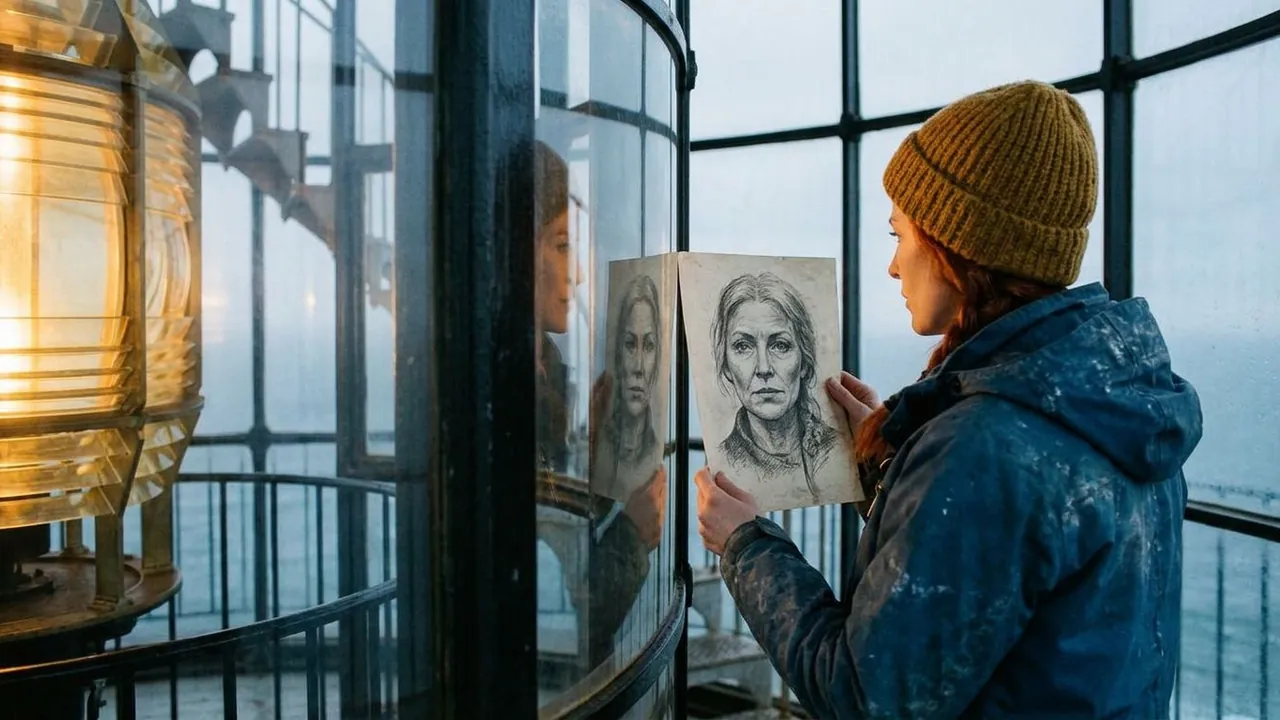
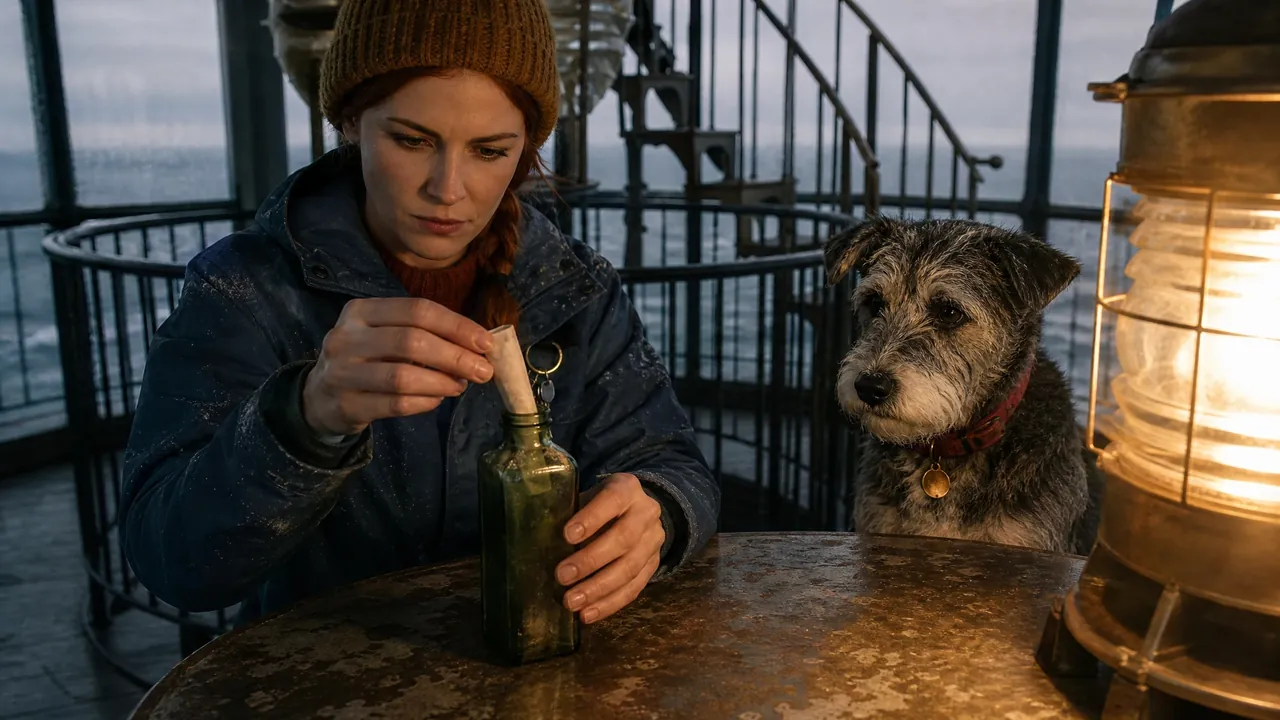
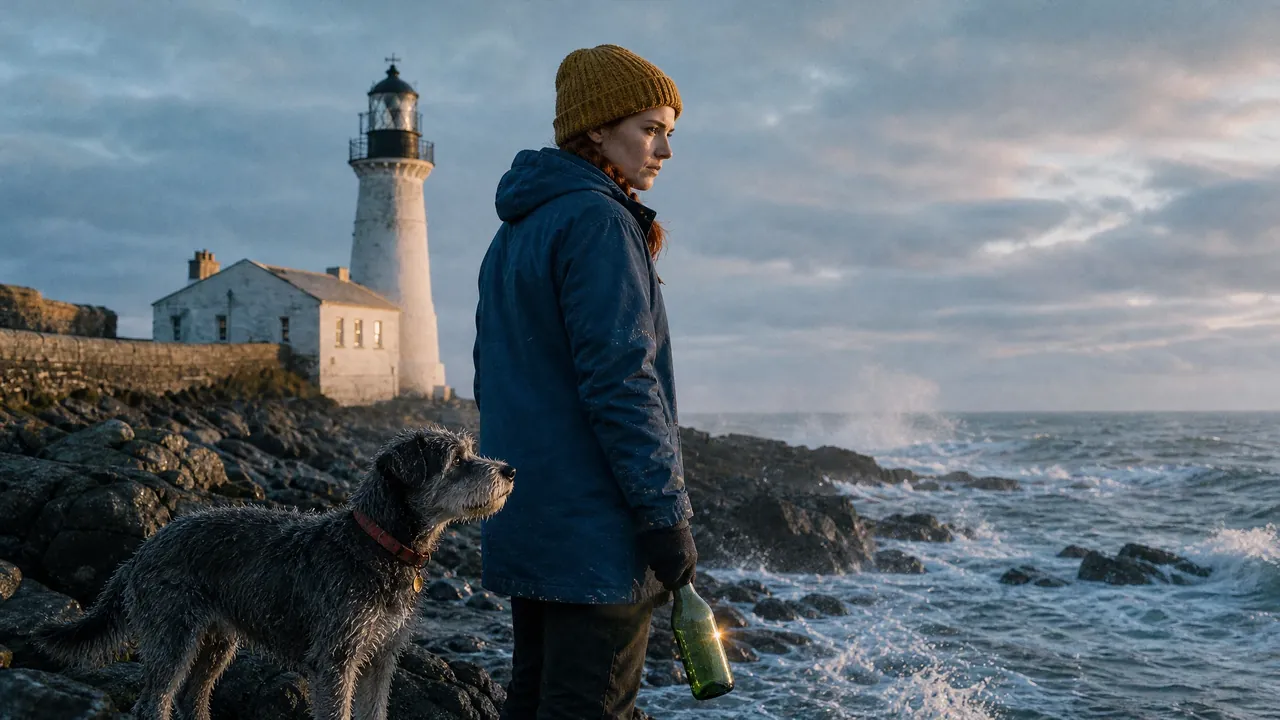
5. Animate
Animate turns each frame into a clip with the video model you pick. Story writes the clip prompt for that model from the shot's direction; Video prompt on a card shows it and lets you edit it. Models that take references (Seedance) can also animate straight from the cast's portraits, without a frame.
6. Play, trim and export
- Play/Edit storyboard plays the clips in order. Drag the in and out handles to trim each one; the files are never cut.
- Export video joins up to 8 clips (2 minutes) into one mp4 at 720p or 1080p. Exports are free.
- Storyboard PDF prints the board, optionally with every shot's prompts.
- For transitions and music, take the clips into Edit.